
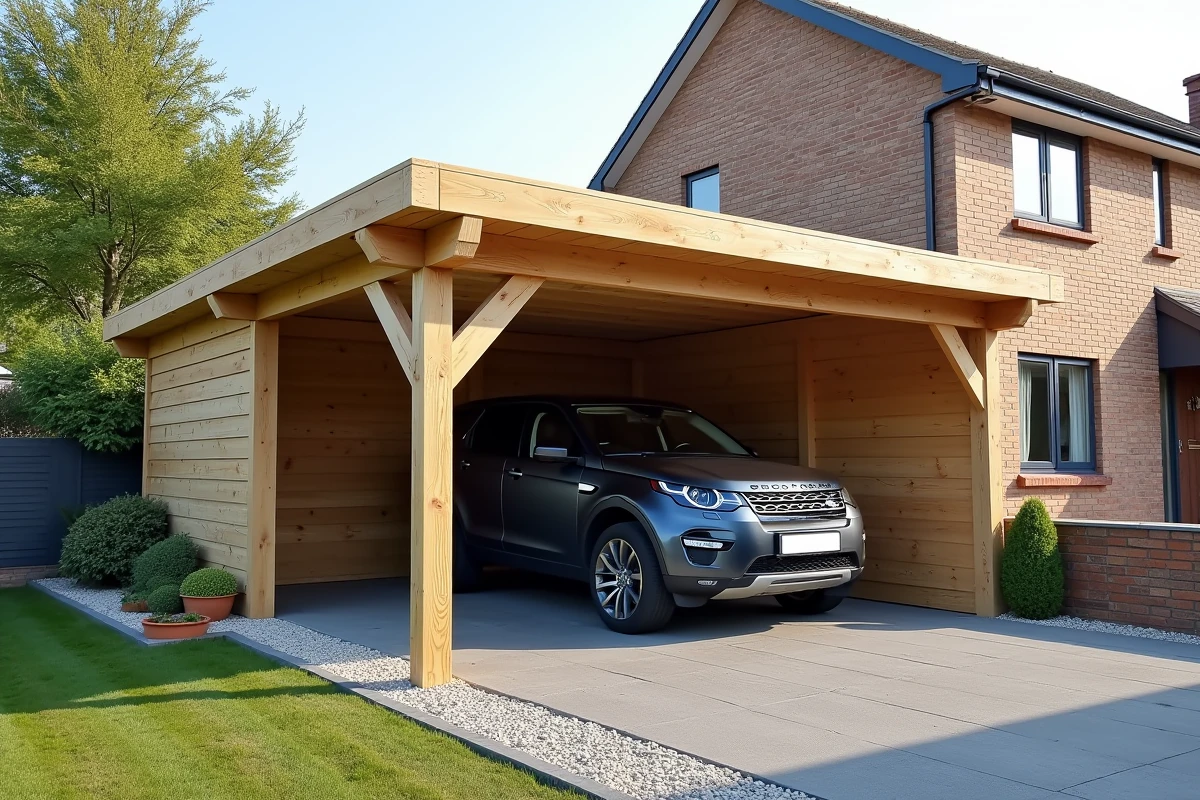
When unloading the packages from a wooden carport onto the ground, the first surprise rarely comes from the number of pieces. It comes from the ground. A slightly sloping terrain, a layer of clay that retains water, a drainage access point right in the wrong place: it’s these kinds of details that determine the success or failure of the assembly. Installing a wooden carport purchased from a DIY store requires less carpentry skills than ground preparation.
Ground anchoring of a wooden carport: the point that everyone underestimates
Most kits sold in stores include metal brackets and screws. On hard ground (existing concrete slab, asphalt), these fixings are sufficient as long as you drill correctly and use appropriate anchors for the substrate.
Recommended read : Tips and Inspirations to Transform Your Garden into a Green Oasis
On soft ground (earth, gravel, lawn), the situation changes. Installing concrete footings remains the most reliable method to ensure the stability of the carport against the wind. A footing of sufficient depth is poured under each post, respecting a drying time of at least two to three days before securing the structure.
This point is not just a matter of strength. Since 2022-2023, several French home insurers (notably MAAF and MMA) specify in their general conditions that damages to a vehicle under a carport are only compensated if the structure is permanently anchored and declared as an outbuilding. A carport simply placed on the ground, without concrete anchoring or declaration, can lead to a refusal of compensation in the event of a storm.
Read also : Portage Salarial: A Bridge Between Independence and Security
Before assembling anything, you should check two things: the nature of the ground and the requirements of your insurance contract. Choosing a wooden carport from Brico Dépôt allows you to control the budget, but anchoring is not an area to cut costs.
Ground footprint coefficient and prior declaration: what blocks at the town hall
It is often thought that a carport of less than twenty square meters slips under the administrative radar with a simple prior declaration of works. This is true in most cases, but the ground footprint coefficient (CES) can change the game.
Since 2023, several municipalities (particularly in Île-de-France and on the Atlantic coast) are reinforcing the consideration of the CES for wooden carports. If your land is already heavily built (house, garage, garden shed), adding a carport may exceed the threshold allowed by the Local Urban Plan, even with a modest footprint.
A refusal of authorization is possible even under twenty square meters when the CES of the land is saturated. The explanatory notice of Cerfa n°13404*10, updated in 2023, mentions this verification. Consulting the urban planning department of your town hall before the purchase prevents ending up with a kit that cannot be assembled.
Documents to prepare
- The site plan of the land (cadastre.gouv.fr allows you to download it for free) with the planned location for the carport
- The scaled mass plan, indicating distances from property boundaries and existing buildings
- A cross-section of the land if it has a slope, to show the ground installation
- The technical sheet of the carport (dimensions, height at the ridge), usually provided in the kit’s instructions
Submitting the complete file from the start shortens the processing times. Feedback varies on this point, but counting on a month of processing for a prior declaration remains a realistic benchmark.
Assembly of the wooden carport: the steps where time is lost
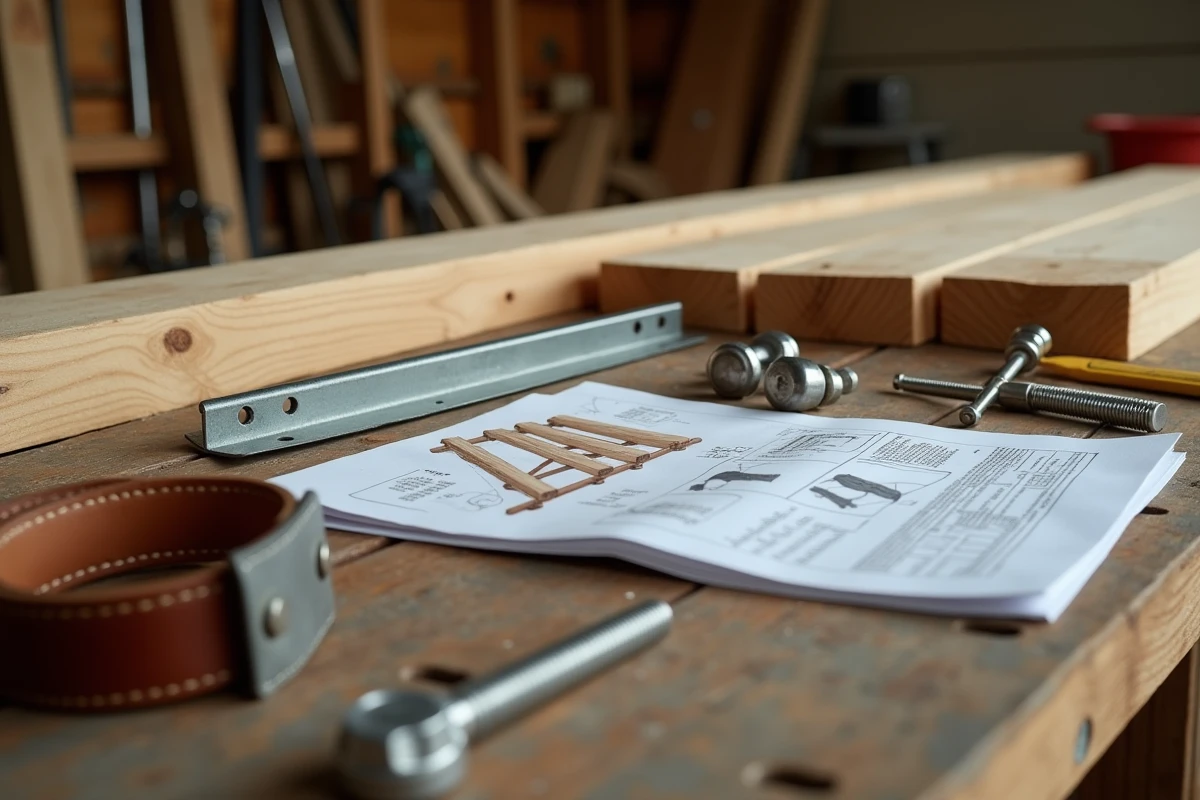
The assembly itself generally takes one day for two people. The instructions provided with the Brico Dépôt kits are functional, with pre-drilled and numbered parts. The problem does not come from the instructions; it comes from the mistakes made before opening them.
Pre-drilling and screws
The wood delivered in these kits is often treated pine. Pre-drilling each fixing point prevents splits in the wood, especially at the ends of the posts and beams. Use a drill bit with a diameter slightly smaller than that of the screw. Several sizes of screws are provided in the kit: sorting and grouping them by size before starting saves real time.
Leveling and squaring
You do not assemble a carport on posts that are not plumb. A bubble level is not sufficient over spans of several meters. A laser level or a plumb line is more reliable over these distances. Check the squareness by measuring the diagonals of the structure once the posts are temporarily braced: if the two diagonals are equal, the structure is square.
Tighten the fixings permanently only after this verification. Many wobbly assemblies come from premature tightening, before checking the plumb and squareness.
Maintenance of the wooden carport and protection over time
Treated pine resists insects and fungi, but not UV rays or graying. Without additional treatment, the wood takes on a gray hue in a few months. If aesthetic appearance matters, applying a stain or saturator in the weeks following assembly protects the fibers and preserves the original color.
Maintenance every two to three years is sufficient for most exposures. The faces most exposed to rain and sun (generally the south and west sides) degrade faster: they can be treated as a priority without redoing the entire structure.
- Clean the wood with a soft brush and water before each application of stain
- Check the tightening of the metal fixings every year, as the wood works with humidity variations
- Inspect the condition of the covering (canvas, polycarbonate, or bitumen tiles depending on the model) and replace damaged elements before winter
A well-maintained wooden carport that is properly anchored lasts several decades. The structure can also serve as a base for future evolution: some design offices recommend thinking of the carport as a potential support for a bioclimatic pergola or a covered extension, rather than as a fixed installation. Keeping healthy posts and solid anchors keeps this option open.